
Bruynzeel Pastelpencils
These are softer pastel pencils with good color distribution for easy covering your paper
The color variation is sufficiënt. Bruynzeel pastel pencils have the tendency to break easily while sharpening. I recommend not using a regular sharpener but instead use a hobby knife. Affordable pricing
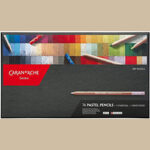
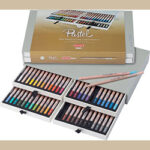
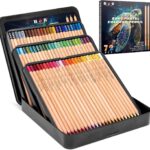
Caran D'Ache pastelpencils
Where it comes to coverage and sublime colors, Caran d'Ache is my go to pencil. They are great for drawing, great for detail and especially the Chinese White is as white as it gets (more than other brands). But.... sharpening these pencils is a costly hobby since they break, even with good sharpeners. I use a hobby knife and a sanding paper to get my pencil tips sharp. Pricy pencils
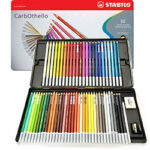
Stabilo CarbOthello
Favorite to many artists. CarbOthello pastelpencils by Stabilo have great color coverage for both background as main subject and layers very well. I have not yet discovered a downside to these pastel pencils and they fit in with other favorite brands, adding many great colores to the palet. These pencils, together with the Faber Pitt Pastels are the ones I use most.
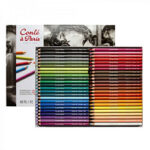
Conté à Paris pastelpencils
Conté à Paris pastel pencils are thicker pencils, like Caran d'Ache and Derwent. They have good color distribution and a decent palet of bright and radiant colors. Because they are thicker, I find it more difficult to use these pencils for the tiniest details but they do great in the less tiny details. Pricy pencils
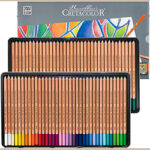
Cretacolor pastelpencils
Very nice and complete color palet. Great set, softer pencils. They are comfortable pencils to draw with and get most of my details in. Not too difficult sharpening but, as most pastel pencils, be careful because chalk easily breaks off.
Derwent pastelpencils
Especially for animal and human portraits, Derwent adds great brown-ish colors to the palet. Easy breaking pastel pencils, so they need to be carefully sharpened with a hobby knife. They layer very well and I use them quite often for my underpaintings, background and portraits, along with some other brands
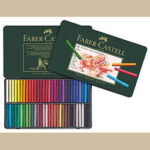
Faber Castel Pitt pastel
Pitt Pastel pencils are a harder brand of pencils, making them ideal for detailing (last layer(s) and less for underground layers. They sharpen really easy and come in 60 great colors.
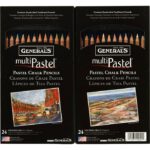
Generals Multipastel pencils
Of all the pastel pencil brands I tried, these are the hardest pencils. They can help you with the finer details but to me, they lack enough pigment to really make a difference.
H&B pastel pencils
By far the cheapest pencils I have. They are not as pigmented as the more expensive pencils and I do not know if the promised lightfastness is trustworthy, but if you start out with this medium or are doing some studies, this set will not disappoint.
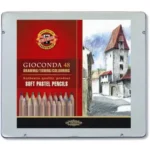
Koh-I-Noor Gioconda pastelpencils
Koh-I-Noor has it's own vision on colors, which results in a set of colors that is slightly different to the colors many other brands have. That makes this brand a greata addition to the pencils you already have. The quality is good.
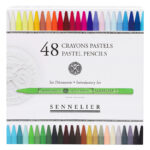
Sennelier woodless pastel pencils
Softpastel is available as a chalk or as a pencil where the chalk is harder and cased in wood. Sennelier found a way to combine the best of these two worlds by creating woodless pencils that do not dust like the chalk, but also aren't as hard as the pencils. I haven't worked a lot with these so I can't tell you yet how I feel about them.
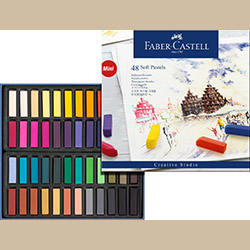
Faber Castel Soft Pastels
Affordable soft pastels. Good colors, leave pretty much dust so don't use when you don't want to get yur hands dirty. To me they aren't very useful for the detailed layers but I use them for the background (to achieve the Bokeh effect)
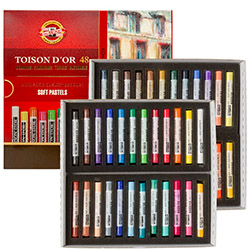
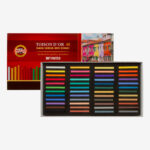
Koh-I-Noor Toison D'Or extra soft
Softer, dusty chalks with good color variation. I have trouble with these with drawing finer details. If you want to work with this brand but need to add finer details I suggest the Koh-I-Noor Toison D'Or soft pastels below.
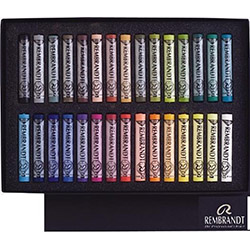
Rembrandt soft pastels
Good value for your money.
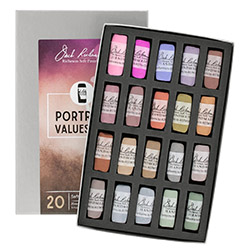
Jack Richeson soft pastels
Handmade soft pastels, in a more pricy range. Great colors and good color distribution. Can be used for entire pastel paintings up to the tiny details (for example by breaking the pastels to get new sharp points).
Sennelier soft pastels
Fairly pricy and dusty chalks. Great colors, good distribution. Do not work for me in the tiny details.
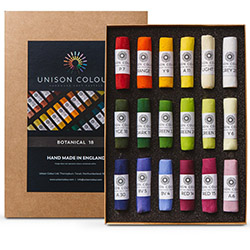
Unison soft pastels
Like the Richesons, these are handmade top tier pastels and they come in a huge amount of colors. They are sturdy, which allow you to break them to get sharp edges and tips to add thinner lines and details.
Schmincke Soft Pastels
Recently started adding these piece by piece to my materials. You can compare these to the Unisons and Richesons.
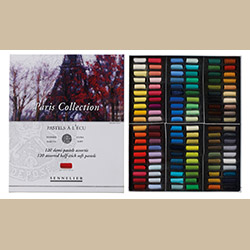
Conté à Paris square hard pastels
These come in various box sizes adding lots of colors to the palet. Because these pastels are harder, I use them to add details to my top layer(s). Good quality, but pricy
Faber Castell Pastel Polychromos
Alongside the harder pencils, Faber Castell also offers harder pastels, perfect for finer details. Great addition to other brands.
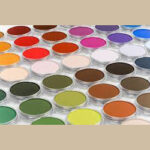
Pan Pastel
Pan Pastels are pans made of chalk, pigment and binder. They are used with a variety of tools, sponges, brushes etc and you need to build the color up in thin layers. A little bit of panpastel goes far! Can be used to fill in large areas but, because of the tools, can also be used to add the tiniest details. Huge color palet with shades, highlights end medium colors.
Koh-I-Noor Toison D'Or
These square pastels are a bit more sturdy than the Koh-I-Noor Toison D'Or extra soft round pastels. Koh-I-Noor offers colors that can complete your set and the quality is nice,.
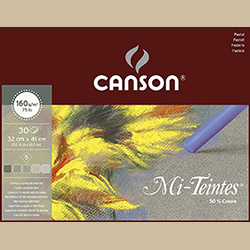
Canson Mi Teintes
Cheaper paper with a visible grain. Not easy to fully cover it, but perfect for practice. Remains dusty after finished.
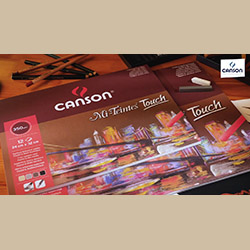
Canson Mi Teintes Touch
Mi Teintes Touch is a more sanded paper like pastel paper. It picks up color easy and covers pretty nice. Still very affordable but like the regular Mi Teintes, it keeps staining so store well protected. Also works great with colored pencils (!)
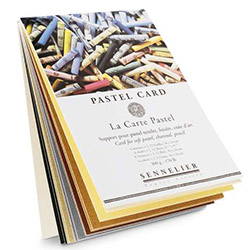
Sennelier Pastelcard
Pastelcard is a bit like pastelmat, but more grainy. Layers easy and can take quite a few layers. Also works great with colored pencils (!).
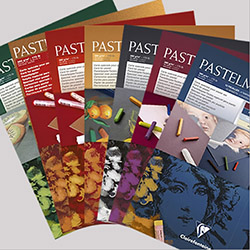
Clairefontaine Pastelmat
Most advised and my personal favorite. Pastelmat can take so many layers that it actually helps you correct mistakes without having to erase them. But even if you want to erase something, the paper itself is water-resistant (of course to a certain extend) so when needed, you can use a coton swab, dip it in water, and carefully remove a few layers of pastel. Is also suitable to use in combination with colored pencils.
Plus: the paper itself does not easily stain after you finished your drawing. Still, store with the accompanying protective sheet for safe keeping. Downsize: expensive paper (but I think it's worth it)
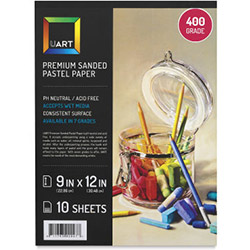
Uart paper
Looks and feels like sandedpaper, but a bit more sturdy than the sanded paper you get from your local hardware store. Comes in grades like sanded paper as well. Usually 400-500-600 will do for a pastel drawing. They advertise that you do not need fixative, because the paper does not stain. I tend to disagree, it stains. So store carefully. But also, because it moves the pastel around very easily, blending may be a challenge in the beginning. Paper comes in two shades (natural and dark anthracite/black-ish and is also suitable for colored pencils.
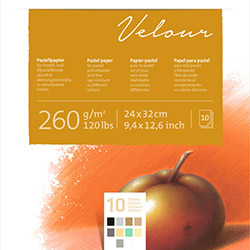
Hahnemühle Velour paper
If you want to draw softer looking pastel pieces, you may want to consider trying Velour paper. It's an acquired taste and it takes some trial and error to make the paper pick up the amount of pastel you want it to pick up, because of the surface of the velour. But, once you get the feel of it, it kinda works very nice and indeed, gives your artwork this furry softness, that really adds an extra dimension to specific pieces that need to look soft.
Canson Mi Teintes Velvet
This paper feels like a mixture of the Velour and the Pastelmat. It works quite well, I find the blending a bit more difficult than with pastelmat. It's not as hard as with the Uart paper, where you can blend the pastel right off of your paper, but it can be frustrating when you blend and end up with more pastel on your blender than on your paper.